Safety first: the cooling system is pressurized—never open the radiator cap on a hot engine. This guide shows you how to restore cooling performance and protect parts like the radiator and water pump.
This section defines a complete service: draining old fluid, flushing the system, refilling, and bleeding air from the radiator and reservoir. “Complete” means you clear contaminants from both the radiator and overflow tank so the cooling system works reliably.
You can do this job in your garage with basic tools, but follow your owner’s manual or a Haynes manual for drain locations, total capacity, and bleed points for your model. I’ll cover why it matters, what to gather, the step-by-step process, how to choose the right fluid, when to change it, and final checks.
Goal: stable engine temperature and consistent performance in stop-and-go riding or hot weather. Also plan for proper disposal—used fluid is toxic and must go to a recycling center, not a household drain.
Why a Coolant Flush Matters for Your Motorcycle Cooling System
A well-serviced cooling system keeps engine temps steady and parts lasting longer. You rely on the system to move heat away from the engine and keep temperatures in a safe range. Proper fluid and clean passages let the radiator and fan do their job without added strain.

How old coolant raises overheating risk and unstable temperature
Old coolant loses corrosion inhibitors and boiling-point protection. When additives break down, your engine can run hotter in traffic or on warm days.
How contaminants and corrosion cut efficiency
Dirt, rust, and debris restrict flow and reduce heat transfer. That lowers radiator performance and forces the water pump to work harder.
Why regular maintenance supports long-term reliability
Corrosion can creep into sealing surfaces and lead to costly failures over time. Scheduled service prevents buildup, preserves throttle response, and keeps the cooling system functioning reliably.
- Raises boiling point: proper fluid helps resist overheating.
- Prevents corrosion: additives protect internal metals and passages.
- Supports performance: routine maintenance avoids silent loss of protection.
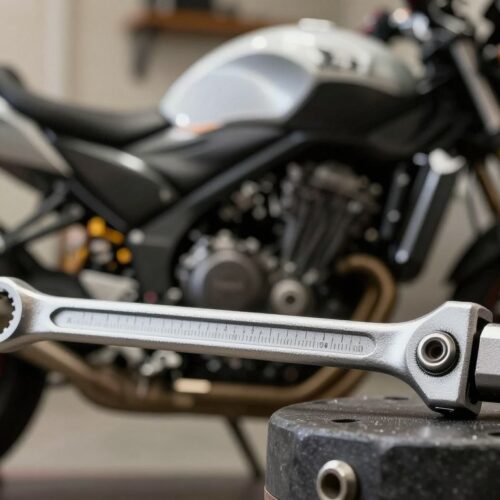
Tools, Supplies, and Safety Checks Before You Start
Before you touch any drains or caps, gather the right supplies and set up a safe workspace.

Checklist: a drain pan or bucket, a funnel, gloves, eye protection, a shop rag, and basic hand tools to remove panels and open the drain bolt or plug. Have a sealable container ready for used fluid so you can transport it to a recycling center.
Confirm the right fluid and quantity
Check your owner’s manual (or a Haynes manual) to confirm the exact type and capacity of coolant for your bike. Don’t choose by color—buy enough volume or a premix as specified.
When distilled water matters
Use distilled water for mixing concentrate and for the final rinse or refill. It reduces mineral deposits compared with tap water and helps keep the cooling system cleaner long term.
Safety with a pressurized system
The radiator cap controls pressure—keep the cap on until the engine is fully cool. If you must open it, cover the cap with a rag, open slowly, and pause if you hear hissing.
- Set up outdoors or in a well-ventilated area; you may need to run the engine briefly during bleeding.
- Some bikes require removing fairings or side panels—plan time and workspace accordingly.
Motorcycle coolant flush step-by-step
Follow these steps to drain, clean, and refill the cooling system safely. Start on level ground, secure the bike on its stand, and let the engine cool completely before you touch the radiator cap.
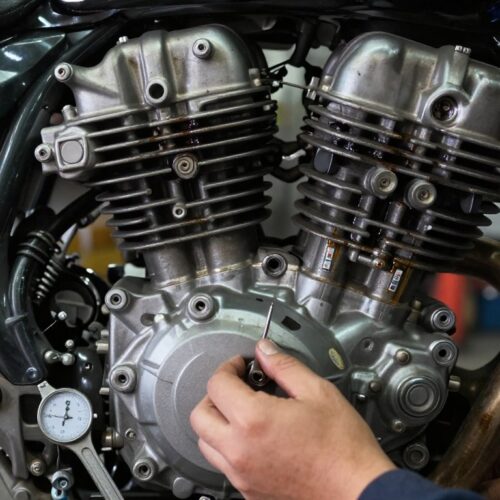
Access, cap safety, and draining
Remove panels as needed to reach the filler neck, reservoir tank, and the drain point near the water pump.
Cover the radiator cap with a rag and open slowly. Pause if you hear hissing to avoid hot sprays.
Place a container under the drain bolt or drain plug, remove the bolt, and let old fluid run out. Opening the cap speeds draining.
Reservoir, rinsing, and optional deep clean
Drain and rinse the reservoir tank to wash out sediment. Use gentle water flow; avoid high pressure on the radiator fins.
If buildup is present, use a product made for aluminum engines and follow directions—typically run the engine briefly, cool, then drain.
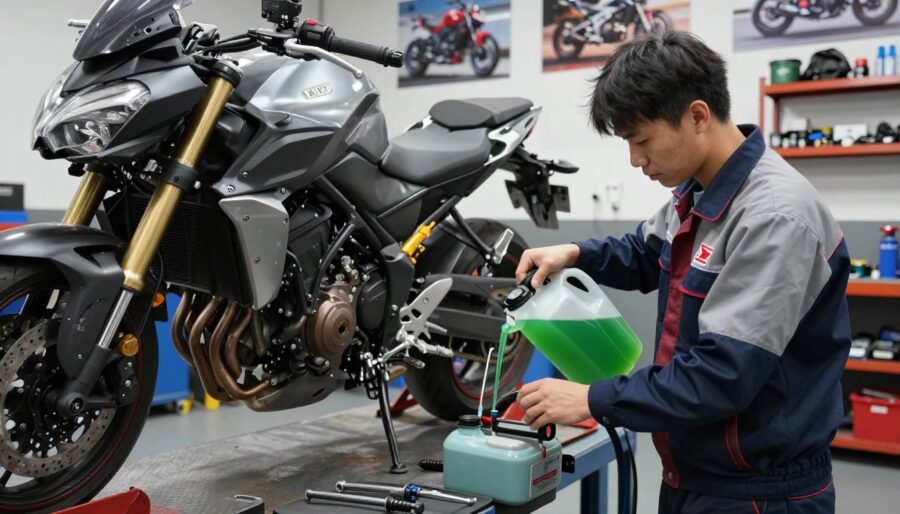
Final rinse, refill, and bleed
Rinse until the water runs clear to prevent compatibility sludge. Refill slowly to the correct radiator and reservoir levels.
Idle the bike with the cap off to let air escape. Top up as bubbles stop, reinstall the cap, and recheck levels after the engine cools.
Choosing the Right Coolant and Avoiding Mixing Problems
Picking the right liquid for your cooling system avoids costly compatibility problems later. Always check the owner manual for the exact specification and capacity for your bike. Do not rely on color to identify what’s already in the system.
Compatibility basics: IAT, OAT, HOAT
IAT works well with older copper and brass parts. OAT gives longer life but uses different inhibitors. HOAT is a hybrid and can react poorly if mixed with either type.
Mixing types can form sludge and cut corrosion protection. That risks blocked passages and shorter part life in the radiator and engine.
Premix vs concentrate and distilled water
Premix is convenient and reduces mixing errors, which is useful given small system volumes. If you use concentrate, mix only with distilled water to limit minerals.
When topping off, match the existing product. In an emergency, plain water can work briefly, but make sure you restore the correct mixture ASAP.
- Follow the manual: match chemistry to metal parts.
- Avoid mixing: prevents sludge and loss of protection.
- Use distilled water: for mixing and final rinse when required.
When to Change Coolant and Signs You Need a Flush Soon
Regular service timing and clear warning signs tell you when a coolant change is overdue. Follow the owner’s manual first, but a common timetable is every 1–2 years for most bikes.
As a concrete example, some sport models list 16,000 miles or two years (1999 Kawasaki ZX-6R G2) as a routine interval. Use that as a benchmark while you confirm the correct interval for your ride.
Watch for these red flags
- Brown or murky liquid, visible debris, or a sweet smell from the reservoir.
- Your bike runs hotter than normal or shows evidence that fluid boiled.
- Low level persists—inspect hoses, clamps, the radiator, and the overflow for leaks.
Milky deposits and urgent checks
Milky or frothy residue in the reservoir often means oil is entering the cooling system. That can point to a bad head gasket or a cracked part.
Investigate milky deposits promptly. Early diagnosis prevents severe engine damage and supports long-term maintenance.
Preventive tip: a scheduled change reduces overheating risk and helps preserve pumps, hoses, and the radiator over the years.
After the Flush: Leak Checks, Fan Operation, and Proper Disposal
Once the radiator and reservoir are refilled, do a careful inspection so the system holds pressure and the engine runs safely.
Check for leaks and sealed connections
Inspect all hoses and clamps, the radiator seams, and the drain bolt with its sealing washer. Make sure the radiator cap is fully seated and the reservoir hose is clipped in place.
Verify temperature and fan cycling
Start the engine and watch the temperature gauge as it warms. Confirm the radiator fan cycles on and off per the manual.
If temps climb and the fan fails to run, check the fuse and look for debris or stones in the fan. Shut the engine down if overheating is imminent.
Short test ride and level recheck
Take a cautious short ride, then cool the bike and recheck the level in the radiator and reservoir. Top off if it settles after heat cycles.
- Inspect hoses, clamps, radiator seams, and the drain bolt washer.
- Verify radiator cap seating and overflow hose connection.
- Store used coolant in a sealed container and take it to a recycling center — never pour it down a drain.
Conclusion
Wrap up the service with a step-by-step inspection so nothing is left to chance on the road.
Cool the engine, drain the old fluid including the reservoir, rinse until clear, use a cleaning additive if needed, give a final rinse, then refill with the correct coolant and bleed air from the system.
Do not open the radiator cap on a hot, pressurized engine. Also avoid mixing different coolant types without a full cleaning to prevent sludge and damage.
Follow your owner’s manual for the correct fluid type and interval. After service, verify there are no leaks, the temperature stays stable, and the fan cycles properly.
In short: this process is straightforward and pays off in reliability when done on schedule and disposed of responsibly.