Quick overview: a stator is a stationary set of copper coils that makes AC when the flywheel magnets pass by. That AC goes to the rectifier and regulator to become and control DC for your bike’s electrical loads.
You will learn what motorcycle stator testing covers: checking winding health and verifying charging output so you can tell if a no-start or weak-power issue is electrical, not fuel or spark.
This guide maps the charging system: stator generates AC, rectifier converts to DC, regulator keeps voltage steady. A single failed part can drain a battery even after a ride.
You can diagnose many faults in a driveway with a multimeter, like open or shorted windings and weak phase output. Some issues need a shop—blocked access, unclear readings, or locked rotors.
Safety matters: secure the bike, disconnect power when appropriate, and avoid moving parts. The article follows two test types: a static resistance test (engine off) and a dynamic AC output test (engine running).
Common outcomes include: stator is good, one phase weak, shorted to ground, or the fault is the rectifier/regulator or wiring. Many riders say “alternator,” but these tests focus on the windings and output.
How Your Stator Fits Into the Charging System
The stator sits inside the engine and produces AC electricity as the rotor or flywheel spins around it. Those coils generate the raw power that the rectifier and regulator must convert and control so your battery and lights get usable DC.
The charging chain matters: if the stator makes AC but the rectifier/regulator fails, the battery still won’t charge and electrical loads will act weak or die. You must treat the parts as a linked system when diagnosing faults.

Stator vs alternator — what you’re actually isolating
The alternator often refers to the whole unit: rotor, stator, rectifier, and regulator. The stator is one part you can isolate with resistance and AC output checks. That helps you avoid replacing the wrong part.
- Common modern type: three-phase stators with three output wires for higher power demands.
- Winding patterns: wye or delta affect expected resistance and voltage — use service manual specs, not generic numbers.
- Magnet style: most vehicles use permanent magnets; field-excited systems use an electromagnet controlled by the regulator.
Signs You Need to Test Your Stator and Charging Output
If your dash lights dim or accessories cut out while you ride, it’s time to inspect the charging system. These symptoms often show up before a full battery failure, so acting early saves you a roadside breakdown.

Charging-system symptoms that show up while you ride
Watch for: headlights that dim at idle, lights that flicker with RPM, weak starting after short stops, and accessories that drop out under load.
These problems happen because the charging output can’t keep up with electrical demand. The battery supplies power until it runs low and the engine will struggle to crank or hold ignition.
Damage patterns that often lead to failure
Check for heat-darkened or brittle windings, corroded connectors, melted plugs, and moisture intrusion. Overheating or poor connections raise resistance and reduce power flow.
- Insulation breakdown shows up as continuity-to-ground.
- Shorted or open windings give abnormal phase-to-phase readings.
- Always confirm battery condition, fuses, and loose connectors before you blame the stators.
Next steps: if your measurements point to a failed unit, replacement is usually recommended. Use your service manual and compare consistent readings across phases—not a single online number—to judge health.
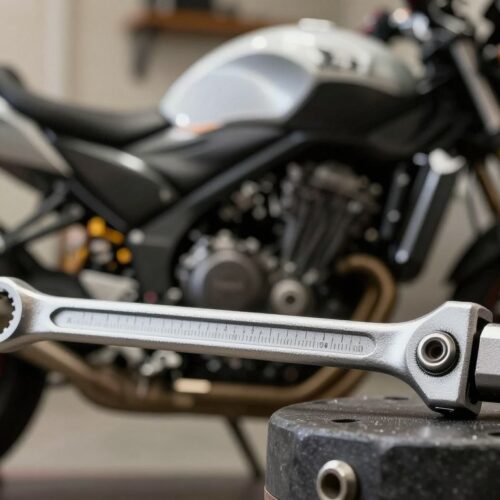
Motorcycle stator testing prep: tools, safety, and service manual specs
Before you touch any connectors, gather the right tools and confirm the meter behavior so you avoid false readings.
Collect a decent multimeter with ohms and AC volts, clean probes, basic hand tools, and your service manual. Set the meter to ohms for the static check and AC volts for the dynamic run. Confirm meter behavior: leads apart should show OL/open loop and leads together should read near zero.
What you’ll need and multimeter settings
Make sure the multimeter is charged and the leads are intact. Use multimeter ohms for resistance and AC volts for live output. Label the probes so you can repeat readings reliably.
How to avoid bad readings before you probe
Inspect connectors for corrosion, melted plastic, oil, or loose grounds. A dirty pin or poor terminal can create a false failure.
Finding the connector and identifying phase wires
Use your service manual diagrams to locate the stator plug rather than relying on color alone. Most outputs are three similar wires—label them 1-2-3 (or A-B-C) and test phase-to-phase consistently.
- Back-probe carefully; don’t spread or damage seals.
- Verify extra leads (neutral, sense wires) before unplugging anything.
- Follow the manual specs: match published ranges and phase balance, not generic numbers.
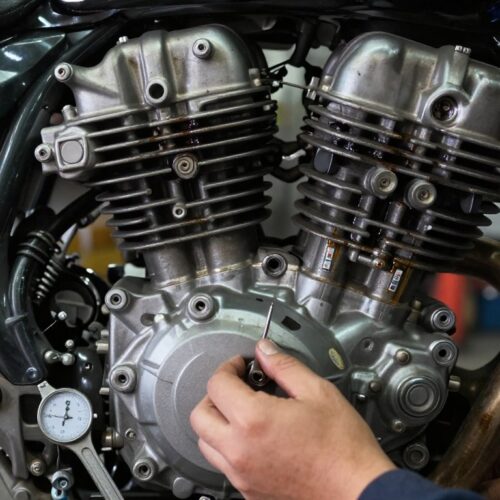
Static Stator Test With a Multimeter (Resistance in Ohms)
Start the static test with the engine off so you measure pure coil resistance, not live voltage. Make sure the output plug is disconnected and the unit is isolated from the rest of the electrical system.
Confirm your multimeter is reading open loop vs closed loop correctly before you trust any numbers. With probes apart you should see OL or open; with probes touching you should read near zero. This step proves the meter and leads are OK.
Phase-to-phase resistance checks
Label the three output terminals and measure phase-to-phase: 1‑2, 2‑3, and 1‑3. Hold the probe steady until the reading settles so you capture a stable ohms value.
All three readings should be close to each other and fall inside the specified resistance range. If one is much higher or shows OL, that winding is likely open. If one reads unusually low, it may be shorted.
Continuity-to-ground and comparing readings
Probe each phase to engine case ground (or the core if removed). You should see no continuity to ground; any reading indicates insulation breakdown and a failed coil.
- How to compare: record each ohms reading and compare them to the manual range. Treat any out-of-range or single-phase deviation as a cue to continue troubleshooting.
- Common false-fail causes: dirty terminals, poor probe contact, corroded connectors, or measuring through a harness instead of at the stator output.
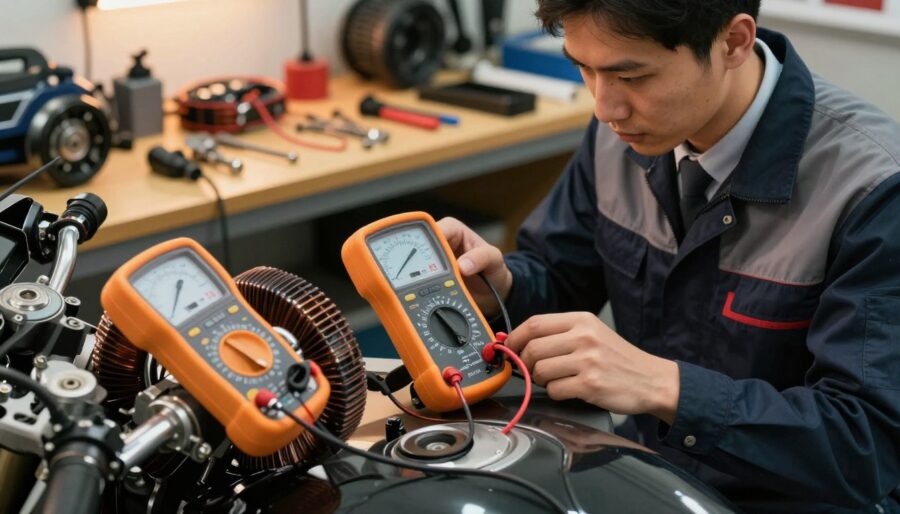
Dynamic Stator Test With the Engine Running (AC Voltage Output)
A dynamic output check shows how the charging coils behave with the engine at work. This live-run test measures AC voltage across phase pairs so you can spot imbalance or loss under real load.
Set your multimeter and prepare the bike
Set the multimeter to AC volts and route leads clear of hot exhaust and moving parts. Secure the vehicle so it won’t tip and make sure probes can’t slip and short adjacent terminals.
Take phase-to-phase volts at specified RPM
Measure the three combinations: 1‑2, 2‑3, and 1‑3. Record readings at idle and at the RPM the service manual calls for.
Interpret uneven readings and next steps
Healthy voltage readings will be similar across all phases and rise predictably with RPM. One low leg often means a partially shorted coil, heat damage, or a bad connector or wire loss before the regulator.
- If AC output is low or unbalanced, replace or repair the faulty part or wiring.
- If voltages are in spec, focus on the rectifier/regulator, battery, and grounds next.
Conclusion
Finish by reviewing static and dynamic readings together, comparing each value to your service manual for the specific bike model.
Confirm symptoms, prepare safely, run the static ohms/ground checks, then validate AC output at the recommended RPM. If your readings are out of spec, show phase imbalance, or reveal continuity to ground, the stator or its wiring is likely the culprit and you should plan for repair or replacement.
Phase balance matters: a single weak leg can let the bike run but fail to keep the battery charged. Record meter ranges, RPM, and connector locations so you can re-test or hand clear data to a technician.
Regular checks and clean, tight connections reduce heat and help your motorcycle stay dependable on every ride.