Knowing what “motorcycle valve clearance symptoms” feel and sound like helps you catch trouble early. You’ll learn how small noises, rough idle, or lost power point to needed service, not random tuning.
In plain terms, a valve adjustment keeps the engine running smoothly. If you notice tapping, hard starting, or less performance, those cues matter for your bike.
This section frames the article as a practical how-to guide so you can decide whether to inspect, measure, or schedule service. Always check your owner’s manual first for exact clearances and intervals.
Acting on early signs can prevent costly damage. Timely valve adjustment protects longevity and keeps your engine at peak performance.
Why valve clearance matters for engine performance and longevity
Small gaps in the valve train change how the engine inhales fuel and exhales spent gases. That breathing affects combustion quality, compression, and overall performance. You might not notice a tiny change at first, but small errors add up over miles.

The role of intake and exhaust ports in combustion airflow
The intake side brings air and fuel into the cylinder, while exhaust ports let burnt gas exit. If either set of valves does not seal or move correctly, compression falls and combustion gets dirty.
How camshaft timing and valve lift depend on correct gaps
The camshaft profile relies on precise lash so cams lift each valve the right amount at the right time. When lash is off, lift and timing shift, and the engine loses torque and crisp throttle response.
Consequences when valves don’t fully open or close
- Partially open valves restrict airflow and reduce power under load.
- Valves that fail to close leak compression, build heat at the seat, and risk long-term damage.
- Even if the engine “runs,” improper settings can shorten component life and raise repair costs.
Keeping proper clearance and inspections prevents subtle performance loss and protects the cylinder head, cams, and related parts. Checking lash at recommended intervals keeps your engine breathing and running its best.
What valve clearance (valve lash) is and why it changes over time
Think of valve lash as the tiny safety gap that lets hot metal move without binding. It’s the measured space between moving parts—often between a rocker arm and a valve stem or cam follower. That gap allows heat expansion and reliable motion so parts don’t collide.

Understanding the gap between valvetrain components
The correct gap is a specific number or range for your engine type. Specs differ by model because designs, materials, and tolerances vary.
Common wear points: rocker, seats, and the cylinder head
Normal wear and settling change lash over time. Contact surfaces on the rocker and the valve seats slowly wear, which alters the gap.
- Rocker contact can form grooves that shrink or grow the gap.
- Seat wear and pitting change how the valves sit and seal.
- Heat cycles in the cylinder head cause metal to shift and the area to settle.
Your goal isn’t just quiet running. You want correct timing and a tight seal. The gap can drift tighter or looser, and each way causes different mechanical problems. Keep this knowledge so you can spot issues before they get worse.
Motorcycle valve clearance symptoms you shouldn’t ignore
Listen closely at idle—some mechanical rhythms tell you when parts need attention. A distinct ticking or clicking near the valve cover is often the first audible clue. That sound usually comes from the valvetrain striking or the clearance shifting, and it’s easiest to hear when the engine is warm and idling.
Ticking or clicking noise from the valve cover area
That repetitive tick is sharper than normal running noise. It often changes with RPM and gets louder if clearances drift loose.
Decreased power and sluggish acceleration
If the valves don’t open or close at the right time, cylinder filling and sealing suffer. You’ll feel slower throttle response and lower top-end power under load.
Poor idle quality at low RPMs
Uneven idle or stalling hints at inconsistent airflow and compression at low speeds. Small gaps that shift tighter or looser can upset smooth idling.
Hard starting and difficult cold starts
Tight seats or poor sealing make cold starting harder because compression and timing are marginal. Starting trouble is a clear sign to check mechanical margins.
Engine overheating and excess heat near the cylinder
Improper sealing raises temperatures at the valve seat and cylinder head. If the area runs hotter than normal, suspect sealing and heat-transfer issues.
Reduced fuel efficiency and increased emissions
When combustion is incomplete, fuel use rises and exhaust quality drops. These issues often overlap with fuel, air, or ignition faults, so do quick checks before disassembly.
- Quick note: Many of these clues look like fueling or spark problems. Rule those out first to avoid unnecessary teardown.
Too tight vs too loose: how symptoms can feel different on the road
Ride feedback often gives the first clue. Pay attention to when problems appear — at cold start, while idling, or under load — because that timing guides your diagnosis.
When clearances are too tight: heat, compression issues, and starting trouble
Too-tight settings commonly show up as hard cold starts and higher local heat near the head. Valves may not seal fully, which reduces compression and makes the engine struggle to fire cleanly.
Over time, tight gaps can quietly worsen. That raises the risk of seat wear and long-term damage if you ignore the problem.
When clearances are too loose: valvetrain noise and rough running
Loose tappets usually create louder top-end noise and a choppy feel. The valve motion lags the cam profile, so you will notice reduced throttle response and less peak power under load.
- Note: A slightly noisy top end can be normal on some engines, but a steady increase in noise or new roughness is a clear prompt to measure the gaps.
- Symptoms depend on design and riding case, so measurement beats guessing.
When you spot signs, a quick adjustment or a measured check is the best next step to protect the engine and preserve performance over time.
Quick checks you can do before tearing into the engine
A few simple tests can tell you if the problem is ignition, fuel delivery, or something deeper. Start here to avoid needless work and to follow a smarter process.
Ruling out spark plug, fuel, and air
Check the spark plug for fouling or wrong gap. A worn spark plug often mimics poor idle and hard starts.
Inspect the air filter and look for obvious fuel delivery issues—blocked jets, weak pump, or poor pressure. These can all feel like mechanical trouble.
Listen for consistent valvetrain noise versus intermittent sounds
Run the engine and listen. A steady tick that rises with RPM and stays in the same spot suggests valvetrain wear.
An intermittent rattle that changes with vibration or load may point to loose parts, chain guides, or intake components.
Note when the problem happens
- Keep a simple log: cold start, fully hot, steady idle, or under load.
- If the sound is loudest near the valve cover and consistent over time, measuring gaps is a logical next step.
- Confirm easy items first, then move to measurement if observations still point to the head.
When to check valve clearances based on mileage, time, and your owner’s manual
How often you check lash depends on miles ridden, riding style, and what the factory prescribes. Always make your owner’s manual the primary source for intervals and specs. Models and head designs vary, so the manual beats forum advice every time.
As a general planning guide, many U.S. manuals list service intervals around 12,000–15,000 miles or roughly every 2–3 years. Treat that range as a baseline, not a rule. Your actual schedule should reflect use and conditions.
- High-performance or frequently hard-revved machines often need checks as early as 6,000–8,000 miles.
- Heavy commuting, track days, or extreme heat speed wear and justify shorter intervals.
- Some engines use hydraulic lifters and may need fewer routine checks—still confirm with the manual.
Checking valve clearances is a preventive task: measure the gaps, compare to spec, and perform a valve adjustment only when readings fall outside the range. Many riders report being “good until around 24K” after an adjustment, but that anecdote is not a substitute for your model’s schedule or for how you ride your bike.
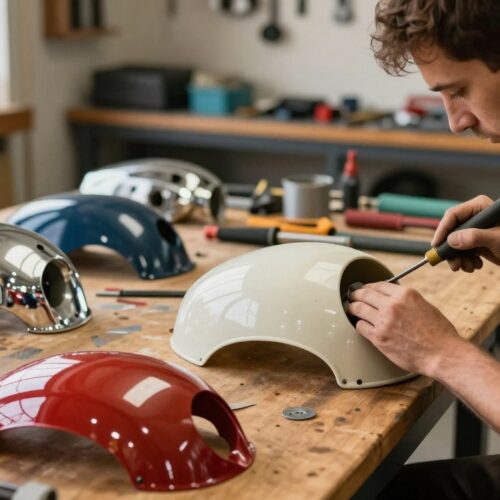
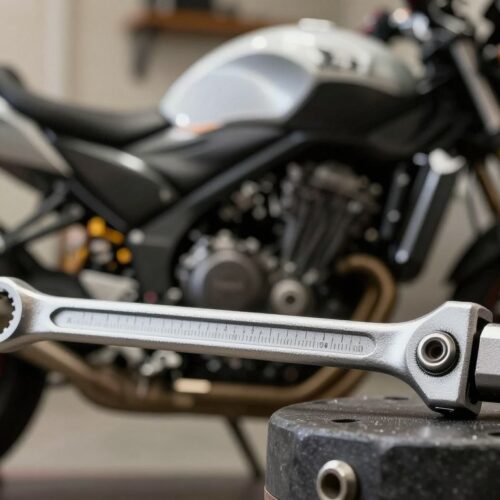
Tools and supplies commonly used for a valve clearance adjustment
Gathering the right tools before you pull the cover saves time and prevents mistakes. A handful of accurate items covers most jobs and keeps your measurements repeatable.
Core measurement tool: a feeler gauge set. Select blade thicknesses to match the exact spec for intake and exhaust. Use the blade that shows a slight drag for a correct reading.
- Hand access tools: sockets and wrenches let you remove the valve cover and related parts without rounding fasteners. Good sockets and a breaker bar make access easier.
- Torque wrench: indispensable for reassembly. Torque fasteners to spec to avoid leaks or thread damage.
- Model-specific gear: some engines need a tappet adjusting tool or other specialty items. Confirm tool needs before you start disassembly.
- Fuel tank access: on many bikes you must lift or remove the fuel tank to reach the cover. Plan for safe fuel handling and space to work.
Why this matters: the right tools reduce mistakes, speed the job, and let you get repeatable readings even when space is tight. Prepare them before you remove valve parts and you’ll avoid costly delays.
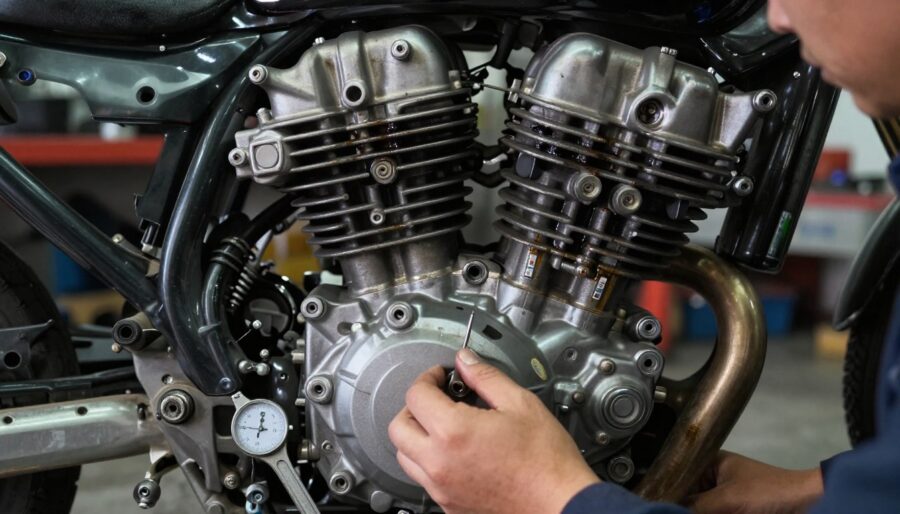
How the valve adjustment process works at a high level
Start by picturing the whole procedure as a short checklist: get access, set engine position, measure, adjust, then reassemble. This helps you see scope before you begin the task.
Access and removal
Remove the seat and, if required, the fuel tank to reach the head. Keep fasteners organized and watch routing for wiring and hoses.
Identify and position
Locate intake versus exhaust cylinders so you use correct specs for each set of valves. Rotate the camshaft to the recommended position so measurements reflect zero lift.
Measure, then adjust
Use a feeler blade that slides with slight resistance as your standard. If readings are out, use the locknut and adjuster screw method to set the gap, then recheck to prevent drift.
Reassembly and final checks
Clean sealing surfaces, torque fasteners to specs, and reinstall components in reverse order. Finish with a warm-up and a listen test to confirm the adjustment worked.
- Workflow reminder: access → position camshaft → measure → adjust → recheck → torque and test.
- Keep a simple log of readings and final torque specs for future reference.
When you should leave valve adjustments to a professional mechanic
If you can’t measure, interpret, and recheck with confidence, get professional help. Accuracy matters here; a small error can cause serious damage to the engine and related parts.
Accuracy and risk
Setting gaps incorrectly or mis-torquing fasteners can harm the valves, cams, and head surfaces. Wrong engine positioning or out-of-spec settings may lead to costly repairs.
Safety and time
You often work around hot, sharp parts in tight spaces. That raises the chance of injury or dropped hardware.
For a first-timer this task can take much longer than expected and might leave the bike sidelined for a full day or more.
Warranty and documentation
Professional service gives you documented records. That helps if a later issue relates to head or cam work and you need warranty protection.
- Decision rule: If you lack the tools or are unsure about readings and rechecks, paying a mechanic is the safer, often cheaper option.
Conclusion
A few repeatable signs — steady tapping near the top end, poor idle, hard starts, overheating, or rising fuel use — tell you when to act.
These clues mean the valve train is affecting engine performance and long‑term reliability. Follow your owner’s manual for exact service intervals; general mileage ranges are only planning guidance for U.S. riders.
Work smart: rule out spark, fuel, and air issues first. If basic checks point to the head, measure clearances and perform a proper valve adjustment or schedule a shop visit based on the readings.
Keep accurate measurements and correct torque practice. When you maintain valves properly, your bike starts easier, runs smoother, and uses less fuel — and a qualified mechanic is the right choice if access or tools are limiting.