Enjoying the freedom of a motorcycle means knowing how to fix it on the go. Mechanical problems can stop you in your tracks. But, with the right skills and tools, you can make quick fixes on the roadside. Knowing how to handle emergencies keeps you safe, saves time, and makes riding more fun. Before you go on long rides, learn the common repairs. This way, you won’t get stranded.
Understanding the Basics of Motorcycle Maintenance
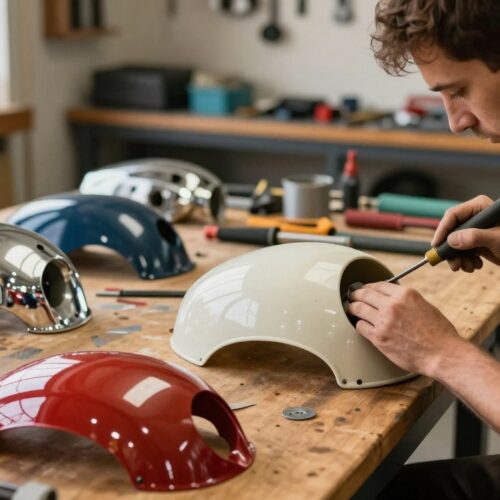
Keeping your motorcycle in top shape is key to safe and enjoyable rides. Regular maintenance tasks like oil changes and fluid checks are crucial. They also help make your bike last longer and perform better.
If your bike starts making odd sounds or doesn’t run like it used to, don’t ignore it. Fixing issues quickly can save you from bigger problems later. A good maintenance routine, which includes preventative measures, keeps your bike running smoothly for a long time.
By looking after your motorcycle, you’re not just looking after your safety. You’re also making sure you have the best riding experience possible. This care means you get the most out of your motorcycle.
Common Small Motorcycle Repairs You Can Handle
Fixing common bike problems is often easy with some basic tools and a little effort. You might face issues like flat tires, broken chains, or brake pads that don’t line up right. These small repairs don’t need roadside help, so you can keep going with little trouble.
Knowing how to do simple DIY repairs makes a big difference. For example, changing a flat tire is quick with a spare and a tire lever. Also, adjusting your brakes keeps you safe. Knowing a few key tricks, like fixing a chain or adjusting brake pads, helps your bike stay ready for the road.
Getting good at fixing these common bike problems means a smoother ride. Regular practice boosts your confidence and skills. Learn these vital repairs so small issues don’t turn into big problems.
Safety First: Preparing for Roadside Repairs
When your bike has a problem, safety should be your top priority. Find a bright, safe spot away from cars. A good location makes it less likely for accidents to happen as you fix your bike. Also, wear safety gear like gloves and a reflective vest to protect yourself and be seen.
Always have a charged phone and some cash with you for emergencies. If fixing your bike takes a long time, you can call for help. Stay calm and careful to avoid mistakes and dangers. Before you start, look around to make sure the area is safe for repairs.
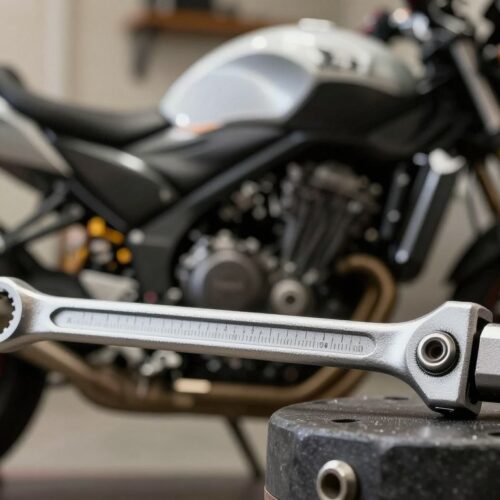
Gathering the Right Tools for the Job
It’s important to have the right motorcycle repair tools for quick fixes on the go. You’ll need a multi-tool with different wrenches and a chain tool. For flat tires, make sure you have a spare tube and tire levers. Also, a mini pump or CO2 inflator is key for pumping up your tires fast after you fix them.

Don’t forget other roadside tools like a chain quick link for chain repairs. Also, have basic spares like fuses and some nuts and bolts in your kit. Knowing what each tool does helps you fix issues fast and get back to riding.
Step-by-Step: Fixing a Flat Tire
Encountering a flat tire can be a frustrating experience during your ride. With the right knowledge, you can perform a flat tire repair confidently. This section serves as a step-by-step guide to help you tackle this common issue.
Start by safely securing your motorcycle on a flat surface. You will need to remove the wheel, which typically requires a wrench to loosen the bolts. Once the wheel is off, inspect the tire for any obvious punctures or damage.
Next, inflate the tire to check for leaks. Listening closely will help you locate the location of the puncture. If identified, a simple patch kit could be all that’s necessary. Cut a clean area around the puncture and apply the patch according to the manufacturer’s instructions. In cases where the damage is extensive, replacing the tube may be required.
After you’ve completed the flat tire repair, reassemble the wheel onto the motorcycle. Ensure that all bolts are tightened properly to maintain safety during your ride. Regular tire maintenance can help prevent future flats, so consider checking your tires frequently for wear and tear.
Troubleshooting Electrical Issues
Electrical issues on your motorcycle can pop up unexpectedly, causing frustration. Knowing how to troubleshoot effectively is key to solving these problems. Start by checking the battery terminals for looseness or corrosion, as these are common reasons for battery failure.
Understanding how fuses work is also important for fixing issues. Fuses stop damage by breaking the circuit if too much current flows. If some lights or parts don’t work, check the fuse box. Replacing any burnt fuses often fixes the problem, avoiding further hassle.
A multimeter is a great tool for troubleshooting. It measures the electrical system’s voltage and current flow. With this device, you can quickly find and fix faults, getting you back on the road fast. Here’s a table that lists common electrical issues, their possible causes, and how to troubleshoot them:
| Electrical Problem | Potential Causes | Troubleshooting Steps |
|---|---|---|
| Dead Battery | Corroded terminals, faulty battery | Inspect connections, jump-start, check battery voltage |
| Malfunctioning Lights | Blown fuses, faulty bulbs | Check fuses, replace bulbs, inspect wiring |
| Starter Issues | Weak battery, faulty starter relay | Test battery charge, inspect starter relay |
| Dash Warning Lights | Sensor faults, wiring issues | Run diagnostics, check connections, reset system |
By getting good at these troubleshooting skills, you can quickly deal with many electrical problems on your motorcycle. This way, you keep your journey going smoothly with little downtime.
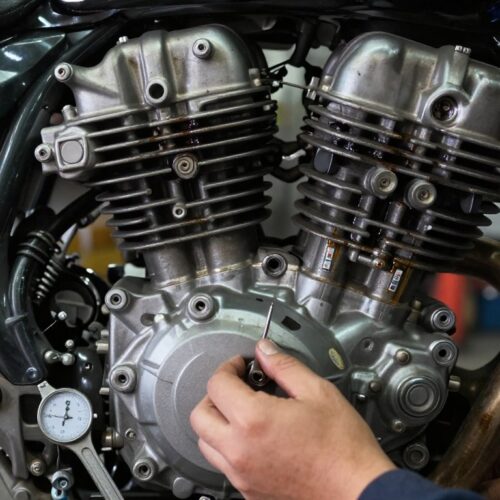
Engine Troubles: What You Can Do
Running into engine issues during a ride can feel overwhelming. Yet, knowing a bit about how your bike works can really help. You might run into problems like your motorcycle getting too hot, making odd sounds, or not having enough power. Learning how to figure out these engine problems can help you fix them quickly.
It’s crucial to do regular engine check-ups to avoid trouble. Always check your oil and coolant levels because not having enough can cause your engine to get too hot and even get damaged. It’s also good to look at your spark plugs and air filters. Dirty filters can lower your bike’s performance and old spark plugs may lead to engine misfires.
Here’s what to do if your engine starts acting up:
- Make sure you have enough oil.
- Ensure your bike has enough coolant to avoid overheating.
- Listen for any odd sounds from the engine.
- Check for any leaks under your motorcycle.
For a clear guide on how to check your engine, see the table below. It lists common issues and how to fix them:
| Engine Problem | Troubleshooting Steps |
|---|---|
| Overheating | Check coolant and oil levels; inspect for leaks. |
| Unusual Noises | Find where the noise is coming from; make sure all bolts are tight. |
| Loss of Power | Look at the air filter and clean or replace it if needed; check spark plugs. |
| Engine Stalling | Check the fuel system; make sure fuel is getting to the engine. |
Knowing how to fix simple engine problems can make your rides safer and more fun.
Conducting a Brake Inspection
Checking your motorcycle’s brakes carefully is key for safe rides. Keeping up with brake maintenance keeps your bike working well and stops crashes caused by brake failure. Start by looking at the brake pads. They should be evenly placed against the rotor. Replace them if they’re worn unevenly or getting too thin.
Then, check the brake fluid level. If it’s low, there might be a leak or another problem. Use the brake fluid type that your bike maker suggests for the best results. If the fluid is dirty, flush out the system to make your ride safer.
Lastly, test how the brake lever feels. A spongy lever means there could be air in the lines or it’s time for maintenance. Doing these safety checks often makes your brakes work better and your rides smoother and safer.

Maintaining Your Motorcycle’s Tires
Keeping your tires in great shape is key to riding safely and smoothly. Regularly check your tires to make sure they’re good to go. Look out for cracks, uneven wear, or bulges, which mean your tires need a look.
It’s important to always check your tire pressure. Stick to the pressure your manual recommends. The right pressure helps your tires last longer and your bike handle better. Use a tire gauge to keep the pressure just right.
Knowing when to get new tires is important. If the tread is low or the wear is bad, it’s time for a change. A tread depth gauge can tell you when. Keeping your tires in top shape keeps you riding safely and smoothly.
Preparing for Long Rides: Preventative Maintenance
Getting your motorcycle ready for long rides is key to a smooth trip. Doing preventative maintenance ahead of time can prevent unforeseen problems on the road. Begin by carefully checking your bike to ensure everything is in great shape.
Oil level checks are very important. Change the oil if it’s close to the service interval. Don’t skip checking your tires; inspect the tread depth and watch for damage. It’s crucial to have properly inflated tires for both safety and bike performance.
Checking your brakes is critical for motorcycle care. Ensure that the front and rear brakes work well. Look at the brake fluid levels and replace parts that are worn out. Fixing small issues beforehand can keep bigger problems at bay during your journey.
Know your motorcycle’s limits. Being aware of how long your bike can run before it needs more fuel or maintenance is key for long trips. Create a checklist that includes oil changes, tire and brake inspections, and other necessary checks. This ensures your motorcycle is all set for the road.
| Maintenance Item | Frequency | Notes |
|---|---|---|
| Oil Change | Every 3,000 miles | Use manufacturer-recommended oil |
| Tire Inspection | Before every ride | Check tread depth and pressure |
| Brake Check | Every 5,000 miles | Inspect pads and fluid levels |
| Chain Lubrication | Every 500 miles | Use specific chain lubricant |
| Lights and Signals | Before every ride | Confirm all lights are functional |
When to Seek Professional Help
Fixing your bike by the roadside can feel rewarding. But knowing when to get expert bike repair is crucial for both your safety and your motorcycle’s wellbeing. Being aware of when you need a professional’s touch can save your bike from further harm. It also keeps you safe while riding.
There are several times when it’s important to reach out for help:
- Severe mechanical failures such as engine seizure or transmission issues.
- Complex electrical complications, like non-functioning lights or starting problems.
- When your bike requires special tools for repairs that you do not have access to.
- After multiple attempts to fix a problem without success could indicate a deeper issue.
Before you ride, it’s smart to have a list of local mechanics ready. Also, look into service options in your area. Knowing who to call for help can be a lifesaver in emergencies. It means you can hit the road again quickly and safely.
Conclusion: Being Your Own Roadside Mechanic
Learning to fix your bike makes riding more fun. You feel free and confident on the road. Knowing how to do small repairs means you’re ready for anything while traveling.
When you know how to maintain your bike, you are closer to it. Fixing a flat or checking the brakes builds your confidence. You can handle issues yourself, keeping your bike running well.
Fixing your own bike makes your rides more enjoyable. Knowing you can solve any problem increases your confidence. Start your journey by learning to be a good roadside mechanic. Be ready for anything on the road.